
The holiday season is upon us and one of the easiest things you can make ahead of time is pie crusts. They come together quickly and are easy to store in the freezer. Perfect for making desserts or turning leftover turkey into a delicious pot pie!
This is my go to pie crust recipe, it is flaky and tender with enough butter to be flavorful while the shortening adds structure and makes the dough freezer friendly.
Tips for a perfect flaky crust:
- Use shortening and butter, it’s the best way to create a flaky crust that holds its structure.
- Keep everything as cold as you can. Keeping the fats solidified is the key to a flaky crust. Chill your pastry cutter or the blade of the food processor.
- Be gentle when working with the dough, over working or stretching the dough will make it chewy instead of flaky. Be especially careful if you decide to use a food processor.
- Use as little of the water as you can, stop as soon as it is enough to hold the dough together.
- Chill the crust before rolling it out. Not only does it make the dough easier to work with but it will prevent the crust from shrinking and sliding down the pan while baking.
Tomorrow I will be back with a recipe that uses this crust for a Dutch Crumb Apple Pie with Cinnamon Streusel Topping!
*This recipe makes two deep dish pie crusts or three regular sized ones.


Yield: 3 pie crusts
Freezer Friendly Pie Crust
Prep Time:
20 minutes
Total Time:
20 minutes
A go to pie crust recipe, flaky, tender and freezer friendly
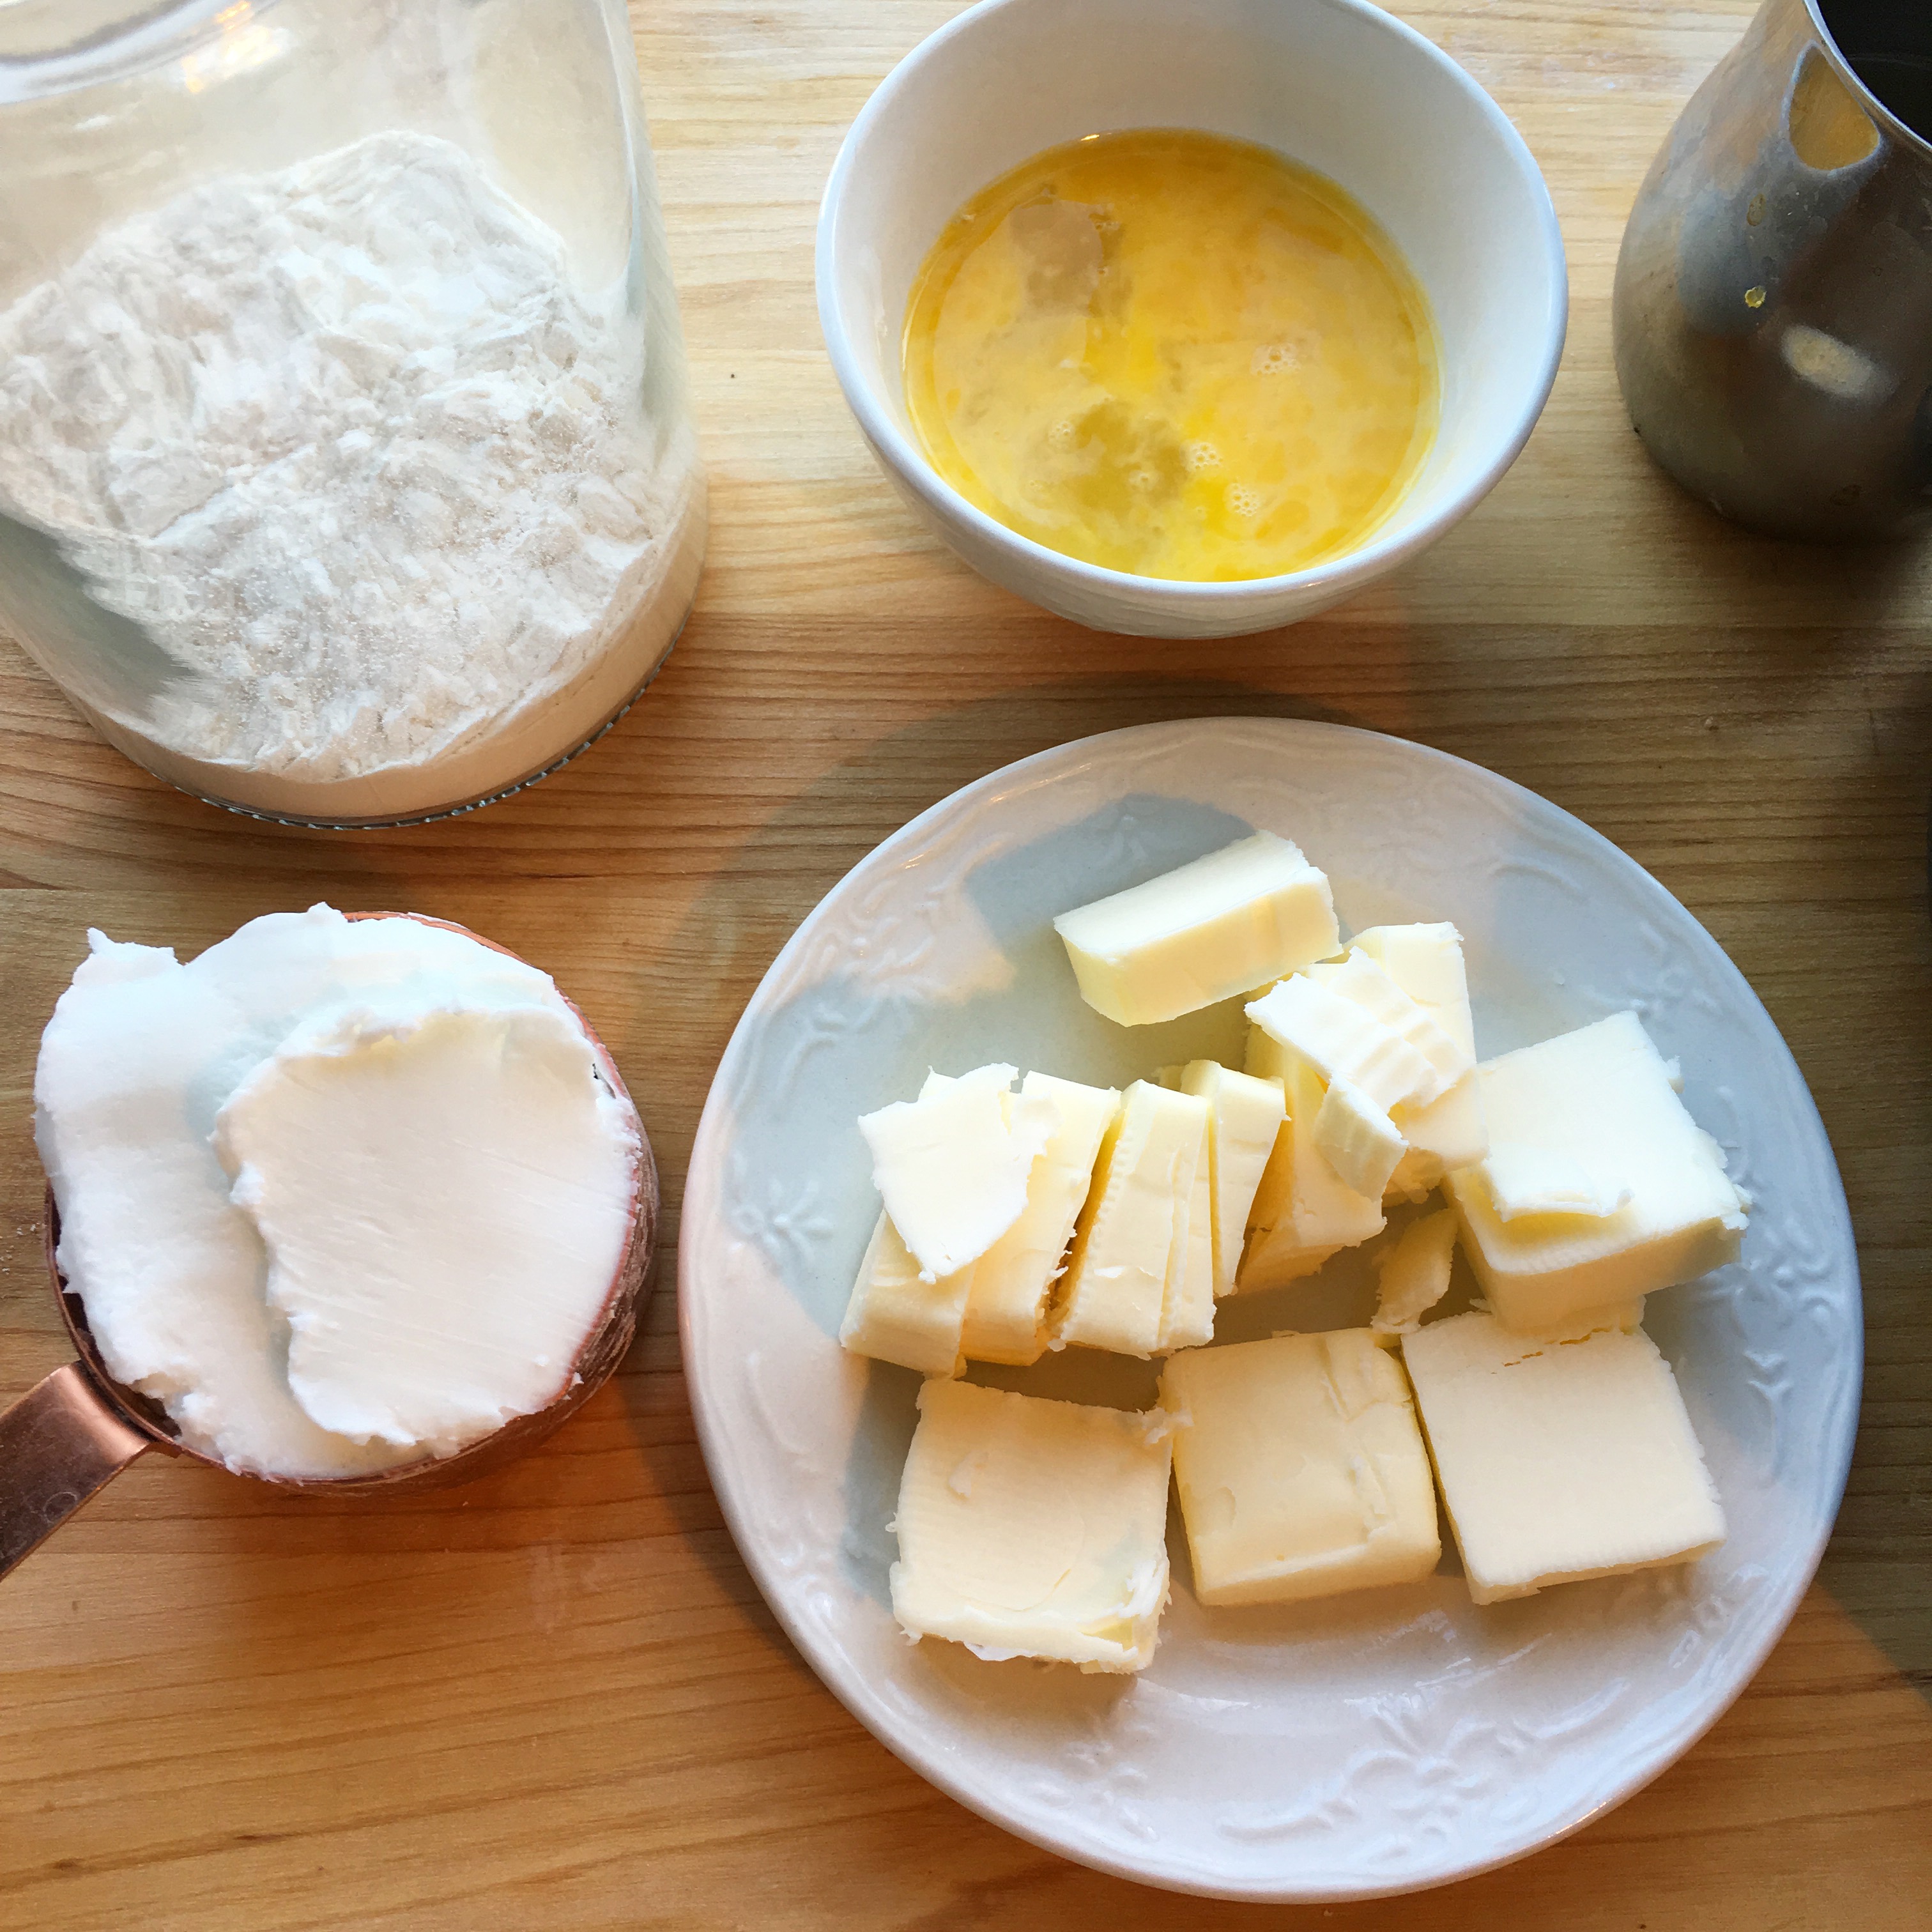
Ingredients
- 1 stick salted butter, cut and and re-chilled
- 1 cup vegetable shortening
- 3 1/4 cups all purpose flour
- 1 egg, beaten
- 4-5 tablespoons ice cold water
- 1 tablespoon white vinegar
- 1/2 teaspoon salt
Instructions
- In a large bowl combine flour and salt. Using a fork or pastry cutter work the shortening and butter into the flour until it resembles a coarse meal.
- Add 4 tablespoons of cold water, vinegar, and egg. Gently mix together until just combined. Be especially careful not to over mix if you are using a food processor.
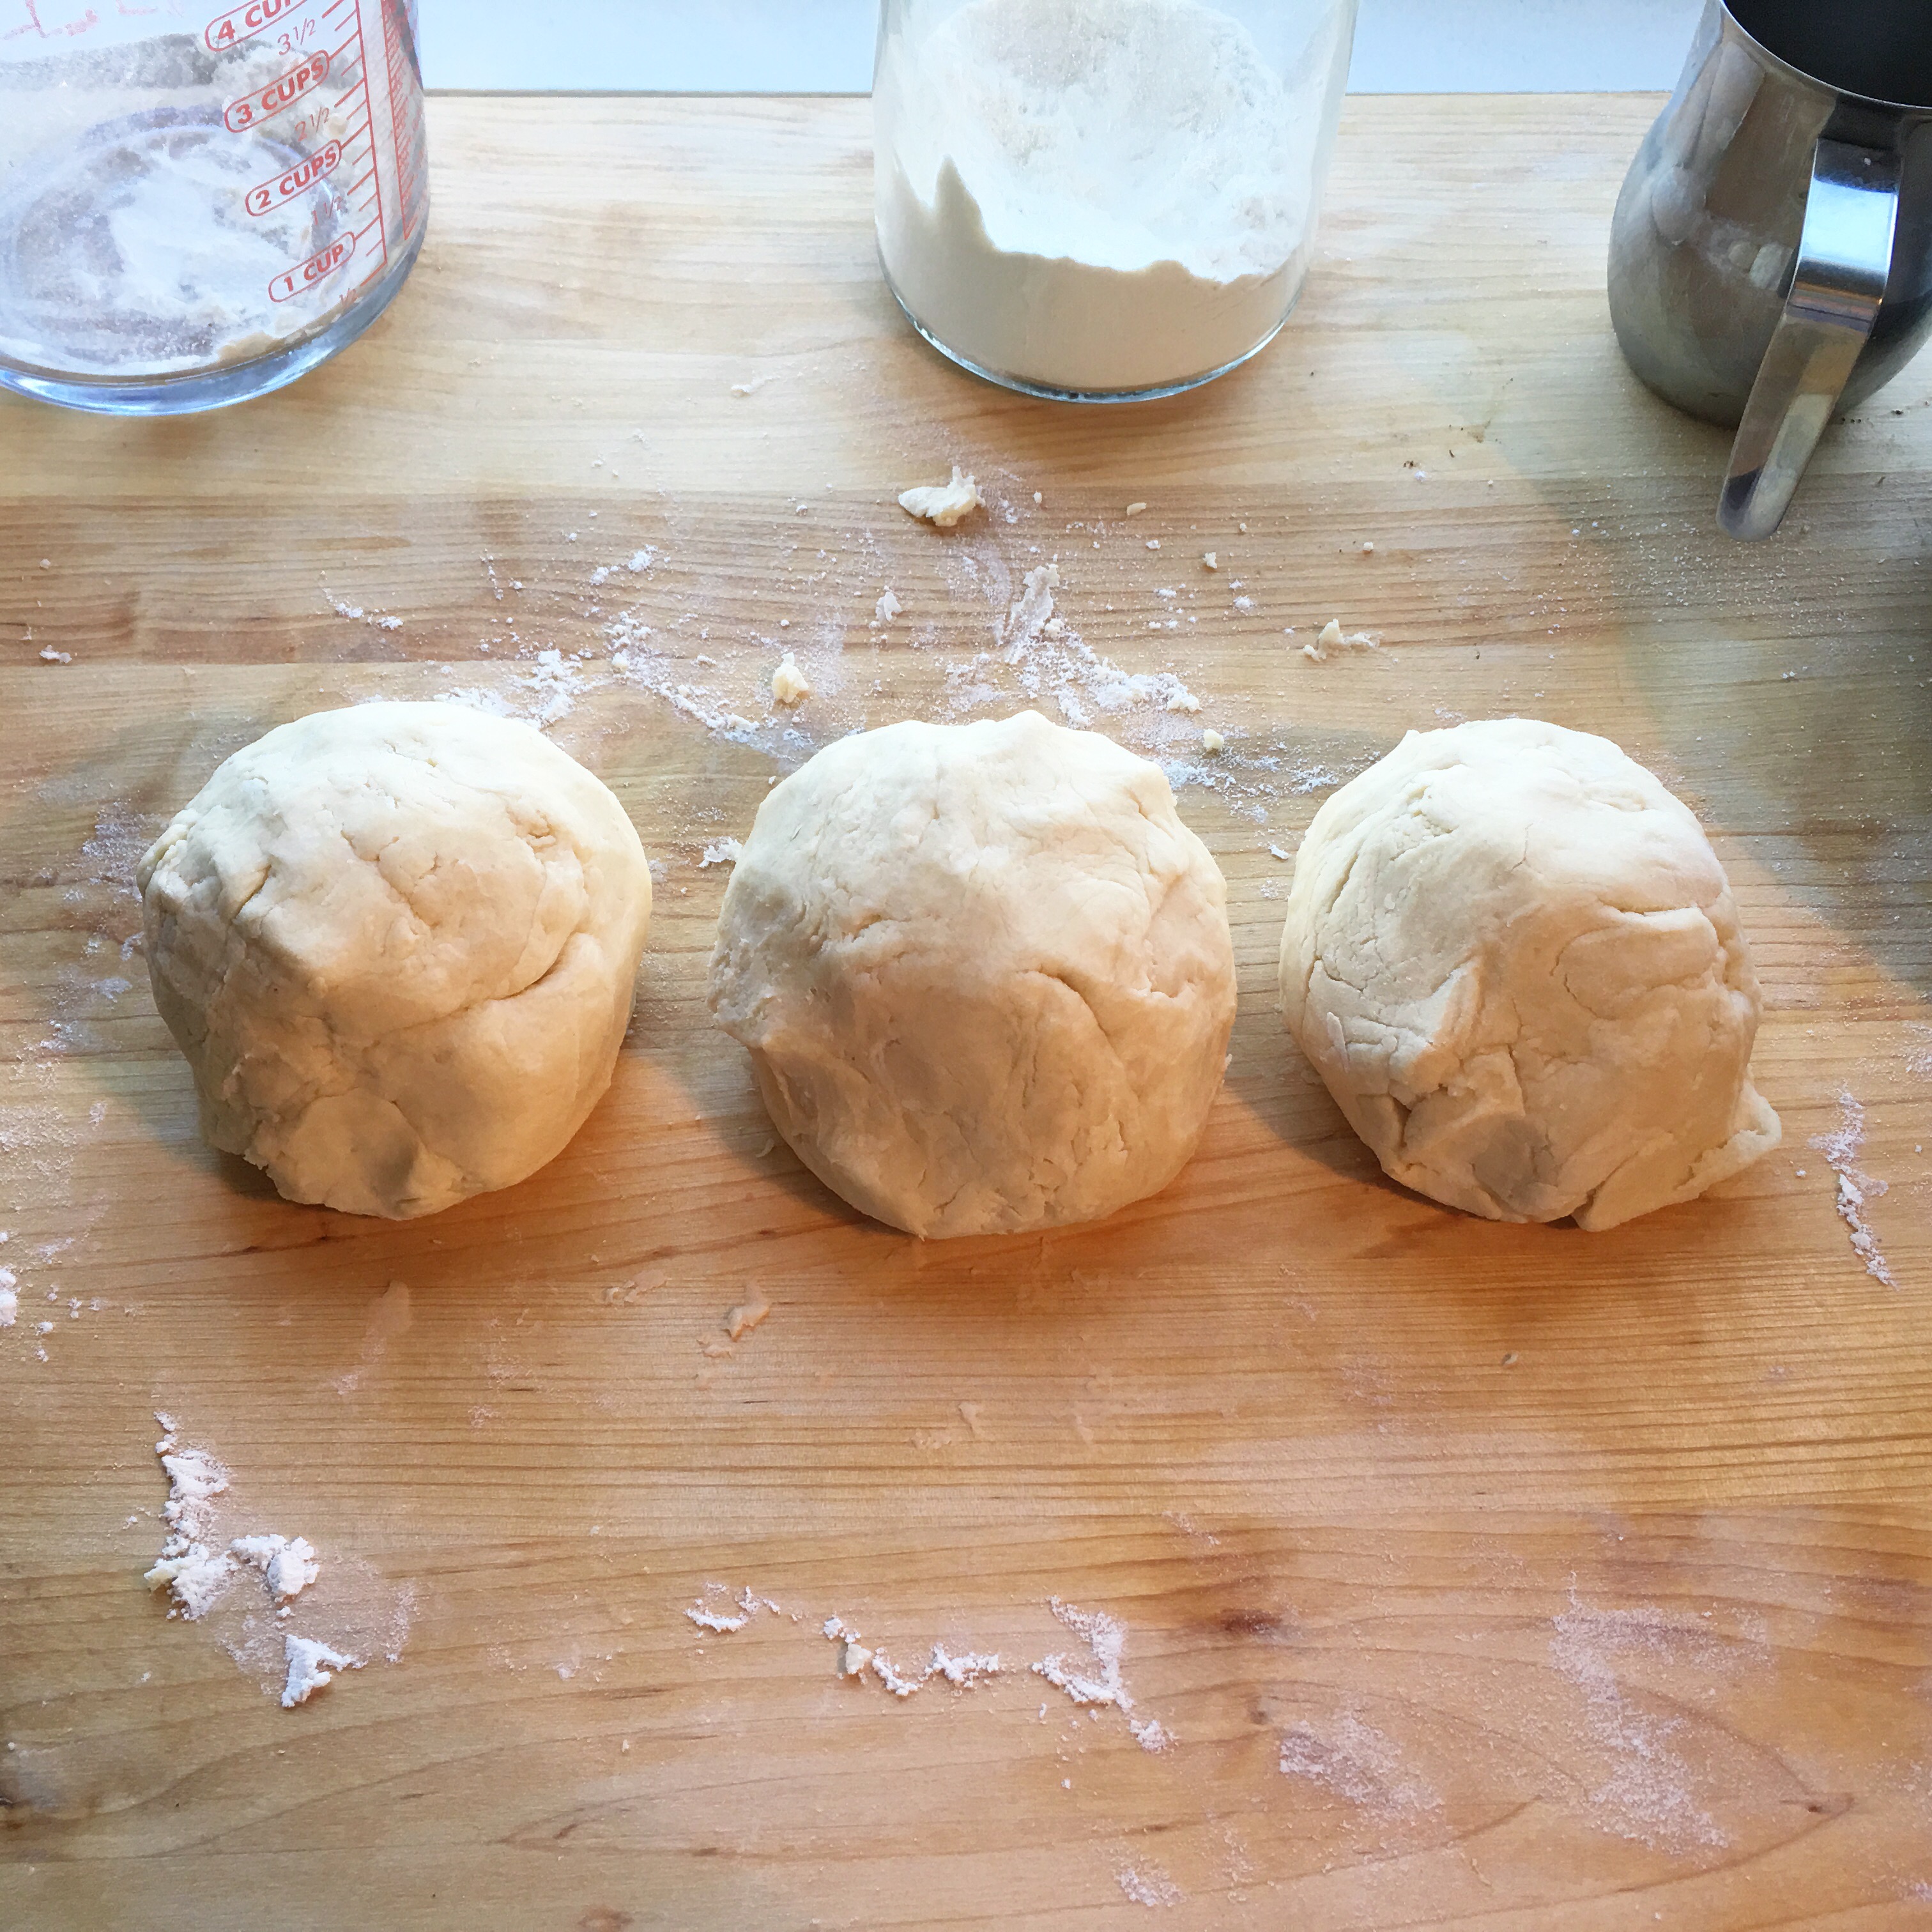
- Separate the dough into half for deep dish pies if you like a thicker crust and thirds for regular pies. Form into balls and place into individual freezer bags. Flatten each one gently with a rolling-pin.
- Store in the freezer until you are ready to use them. Chill the crust for at least 30 minutes even if you are using them that day. It makes the dough much easier to work with and results in a nice flaky crust.
- When you are ready to form your crust, remove the dough from the freezer and allow to thaw for 15-20 minutes. Roll out on a lightly floured surface until its is about 1″ larger than your pie pan.
- Carefully transfer the dough to the pie pan. Gently fold any stray edges under and pinch the edges working your way around the pan.
Nutrition Information:
Yield:
24Serving Size:
1Amount Per Serving: Calories: 175Total Fat: 13gSaturated Fat: 6gTrans Fat: 0gUnsaturated Fat: 6gCholesterol: 23mgSodium: 78mgCarbohydrates: 13gFiber: 0gSugar: 0gProtein: 2g